November 23, 2010

Victory!

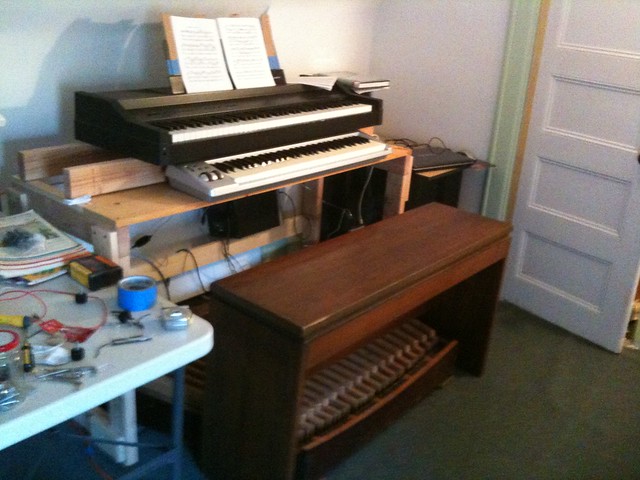
At last! The console is together and working!
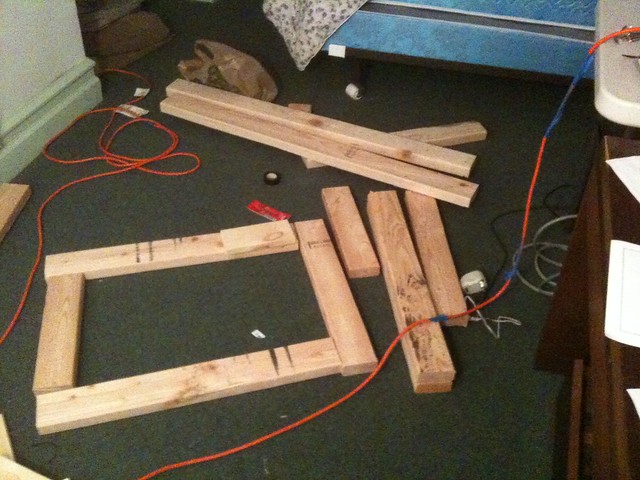
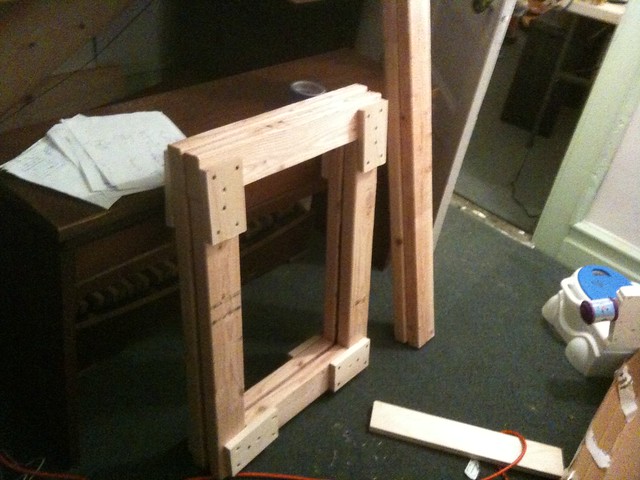
I still have to neaten up the wiring and shim up the second manual rails with something better than folded paper. Nicely-cut cereal boxes perhaps... I think the frame could also use a bit of diagonal bracing somehow, as it flexes a bit when I need to pivot, and push against the keyboard to do so.

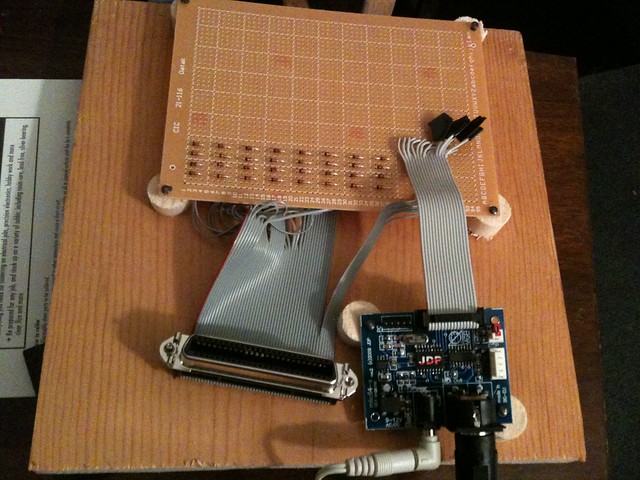
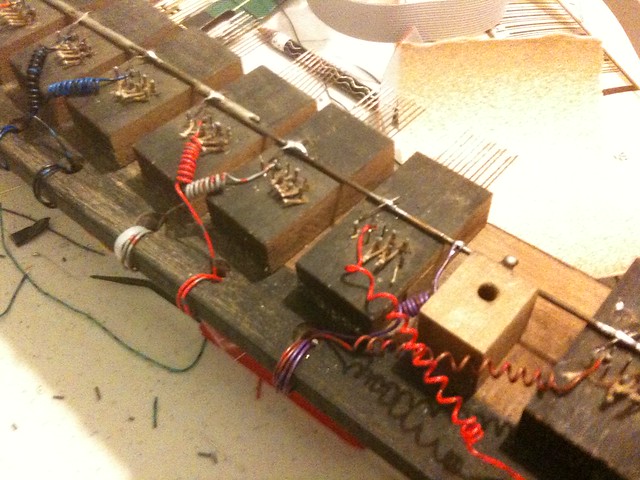
I mounted the pedalboard electronics on a spare bit of pine, and hung it on the frame:
The filing of those contact knives for the pedalboard was successful. They were tipped with some relatively soft metal. Some of the tips were cracked along the surface of contact, and one actually split while I was filing it. On the contact wires (which the knives strike), there was a groove worn by the knives, which had oxidized and was very hard to clean. In a few cases, the circuit was being broken mid-note as the knives slid over that spot. I bent the knives slightly, which seemed to work.

The pedalboard is rather noisy and needs refelting, but I think I will defer that project and be content with my clunky practice machine - lest I get so obsessed with building that I forget my initial purpose: an emotional-spiritual musical outlet.

I'm currently working on the Bach E-flat Prelude and Fugue ("St. Anne"), and Mendelssohn's first Prelude and Fugue, using the organ bundled with Hauptwerk, as well as the free "Enigma" polyglot organ.

November 14, 2010

On the cusp!

Lots of work to report today. I finished the console frame. The two 2x4's spanning the pedalboard are held in place by dowels sunk into the frame.
They support the Novopiano, whilst the M-Audio Keystation sits on that one-by in front.
I tested the contact rail again; all the contacts are firing in the correct order, but there was still oxidation interfering with the conducivity. There were some dead notes caused by a bit of stray wire insulation that had fallen into the connector, and was easily removed.


I sanded the contact wires a bit more, and mounted the rail to test it in the pedalboard.
The knives that short the contact wires also had a layer of oxidation, which I sanded off. This was a fairly well-worn pedalboard, though; some of the knives had grooves worn in them, from which I was not able to remove the oxidation with sandpaper.

I will try filing these down to a new edge for next time. I just got through practicing manuals-only with Hauptwerk, and it was most excellent. We are almost ready for the completion of yitznewton's opus 1!

November 9, 2010

The console begins to take shape

I started putting together the console tonight. Huzzah! However, "measure twice, cut once" struck again. I cut the rails that span the pedalboard to accommodate the Novopiano, but forgot that the pedalboard is wider than that. Thank goodness, 2x4's are less than $4 apiece. If anybody needs a couple of 2x4's just under four feet each and happens to be passing by Northern New Jersey, let me know!
Frame ends built:
I finished fixing the mixed-up twisted pairs from before, by swapping the wires on the contact rail - see earlier discussion. I realized that, besides the convenience factor, this was the "correct" answer, as it was the contact rail wiring that was confused, not the diode board. I have not tested it yet since the fix. Cover your eyes; my beautiful wiring iz hax3d!

November 6, 2010

Testing the pedal contact rail

The AC adapter for the pedalboard MIDI encoder arrived, so today was the first MIDI test of the pedal contact rail. There's good news and bad news, and the good news is pretty good:

  • The MIDI encoder works
  • The diode board works 100%
  • The wiring connections all work
  • The USB/MIDI stuff works
The first problem is that the contact wires themselves appear to be too corroded to respond appropriately to the contact surface. After the test, I took some sandpaper to them just down to the bare metal, and my preliminary tests of the conductivity look better.

The bigger problem has to do with the wiring. My cable is twisted-pair telco cable. Each pair has a two-color code, for example white-blue. I assumed that the white wire of that pair would precede the blue in the sequence of 50 wires. Apparently I was wrong; so playing the notes from the bottom, you might get C#-C-D#-D-F-E, etc. Actually the registers skip around as well, because of the way the scanmatrix is put together, but you get the idea.

For the bus wire connections, it was easy enough to swap those on the diode circuitboard. But for the 32 individual wires, that wouldn't be practical. The two possibilities seem to be make a new diode board and fix the wiring, or switch the wires on the contact rail itself. I think the latter would be faster, but it's woefully hack. Sigh. But this was pretty good for an initial test. Excelsior!


November 5, 2010

Designing a "console"

Now that I have two working MIDI manuals, I started drawing up plans for the console. I plan on using 2x4s for the frame, and using mending plates (perhaps) to hold it together. Here's the side view, front to follow. The M-Audio Keystation will be nestled in under the massive Novopiano:
The front-to-back distance between keyboards will be to the AGO standard, but not the height. Also, the width of the keys is not exactly the same between the two :P A good reason to spring for a second M-Audio sooner rather than later.