October 27, 2010

More soldering; MIDI proof-of-concept WIN!

I continued working on the MIDI encoder scanmatrix circuit. It's almost done; I just have to finish collecting the different traces together to wire them into the encoder's 16-pin IDC connector. I didn't realize the ribbon cable conductors would be stranded, that makes things a little more interesting. Throughout the project I've been trying to avoid rat's-nest wiring, but it had to come in somewhere. So here it is:

In other news, I finished doing a factory restore of my Toshiba Windows 7 laptop. The awesome news: my M-Audio Keystation now works! And the bonus news, my mother-in-law, God bless her, gave us her ancient, '80s-era behemoth electric piano, a GEM Novopiano DP-20, weighing in at somewhere in the 40-50 kilo range.

I got a few cheapo Felipo USB/MIDI interfaces on eBay, and it all now works! I fired up Miditzer and was able to play two different channels via the two keyboards. It's off the base, so it's just a matter of building a console frame to accomodate both units. Today: two manuals. Tomorrow: the world! Or maybe at least a pedalboard.

October 25, 2010

Bach E-flat Major P&F ("St. Anne")

I started work on the venerable BWV 552. (Ha-ha, venerable, St. Anne, get it?) I'm trying to use historically-informed fingering, something I was not properly aware of in my studies of Bach during my first organist incarnation. I don't know if it's just me, but I found working through fingering the first page of the prelude to be quite difficult. The hands are hopping all over the keyboard! Which makes sense; it is (or can be, depending on interpretation) quite a lively piece. I think I have a working approach for that first page. Let's see if it holds for the further pages...

A busy Sunday

Yesterday I completed the pedal contacts, and started in on the circuit board with the diodes for the scanmatrix. This is my first-ever circuit board, so go easy!
I continued troubleshooting the M-Audio Keystation with my computer. It works fine with my old Windows XP warhorse. I could do a factory reset of my Windows 7 laptop, but that's just a world of upheaval... I'd rather avoid that. My other plan is to buy a new old computer for the house, and move the old warhorse up to the attic for use with the organ. My wife's been complaining about it lately anyway; I think it could use an overhaul. I'll be able to strip out all the productivity software, etc., and just use it for Hauptwerk and Miditzer.

October 21, 2010

Wiring moving along, MIDI woes

Well, the pedalboard wiring is coming along:
Now I need to solder those wires to the contacts, and make the circuit board for the scanmatrix.

I've been busy on eBay in the meantime; I picked up an M-Audio Keystation 61es for a good price, and also a 2-in/out MIDI-USB interface for the pedalboard and anything else I might be able to hook up (like the Behringer foot controller). Unfortunately, the M-Audio's direct USB connection to the computer did not plug-and-play nicely; still troubleshooting that one.

October 19, 2010

Pedalboard wiring begins

I started running the cable a couple nights ago. I'm trying out cable ties instead of the old method of "let's wrap everything in a nice layer of fabric electrical tape." Here, I have pulled some of the wires through the "mooring holes" in the contact rail. On the rightmost two notes, I tried imitating the nice coiled effect that organbuilders use to accommodate future wiring adjustments; I need to try a different method, but you get the idea.

October 17, 2010

First Pieces

I'm trying to decide what pieces to work on first. I am leaning towards Mendelssohn's first Prelude and Fugue, in c Minor, Bach's Prelude and Fugue in E-flat Major, BWV 552 ("St. Anne"), Franck's Prelude, Fugue and Variation, and Sousa's George Washington Bicentennial March. I'm torn between the Bach E-flat, and his Fantasia and Fugue in G Minor.

Contact Re-installation and More

Work continues on the pedalboard. The MIDI encoder has arrived!

I measured my 25-pair cable...

...and determined that there should be just enough length to cut it in half for use with two pedalboards. Each end is identical, with a male Centronics 50-pin connector. Measure twice, cut once! And voilà, here are the 25 twisted pairs:

I glued down the water-damaged contacts with wood glue as planned.

I also cut the bus wire, fixed the solder joints that I mistakenly removed earlier, and also another one which I broke in cutting the bus wire. Well, sort of fixed them: it's pretty hard to solder a wire that's just placed flush against another wire like this, but this is how it was done originally on this contact rail. Mental note in case I do any from-scratch construction.

Next time, after the glue dries, I can finish soldering the bus wire connections. Then, it will be on to mounting the cable. Huzzah! Real progress at last.

Swell Pedals

After my claviers are working, I'm going to want at least one swell pedal. This seems to be a bit of a sticky wicket. I'm not so confident about MIDIfying an old Hammond or pipe organ pedal; the electronics seem like it might be over my head for the trouble. Classic Midi Works sells MIDI swell pedals, but of course they're pretty expensive - a single one is 250 USD.

I found something interesting: Behringer makes a guitar MIDI foot controller which includes two expression pedals, plus ten switches, for about $150. I'm wondering if I can perhaps hack it up to use the switches as toestuds, or even rewire as keyboard pistons, and use the expression pedals as is, or perhaps even replace with something more organ-friendly. I will try to take a look at the product in person at a store - but in any case this is a bit down the road, as I still need to finish my pedalboard!

October 15, 2010

Pedalboard wiring preparation

Okay, after a bunch of research, I have on order:

  • MIDI encoder board
  • perf board (a.k.a. prototype board) for soldering the matrix of diodes
  • 50-conductor Centronics cable (received)
  • 50-pin Centronics female / ribbon connector
  • 16-pin IDC connector
The plan is: cut the original bus wire into sections for the matrix, arrange the diodes on the perf board, use the cable to wire the bus wire and contacts (will connect via Centronics connector), wire up the Centronics connector via ribbon cable to the diodes, wire the other end of the diodes to the IDC connector, which is what the MIDI encoder takes. Knee bone's connected to the... Hopefully it will be easier to understand with pics. Now, where's that encoder board already?!

October 7, 2010

Pedalboard wiring plan

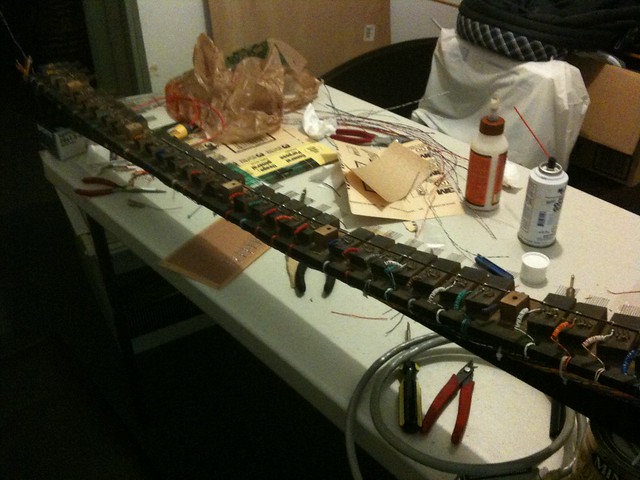
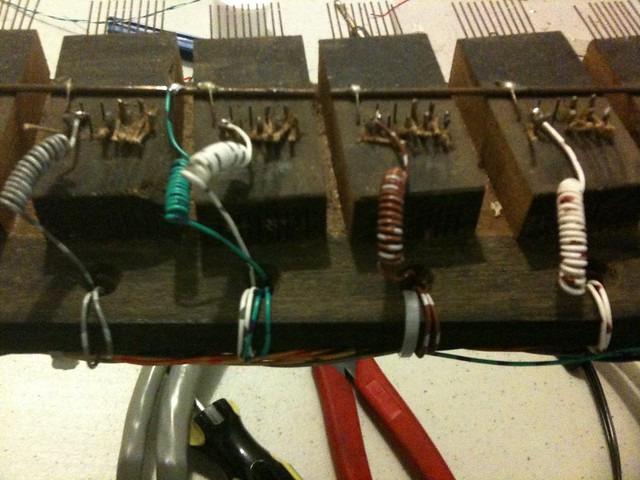
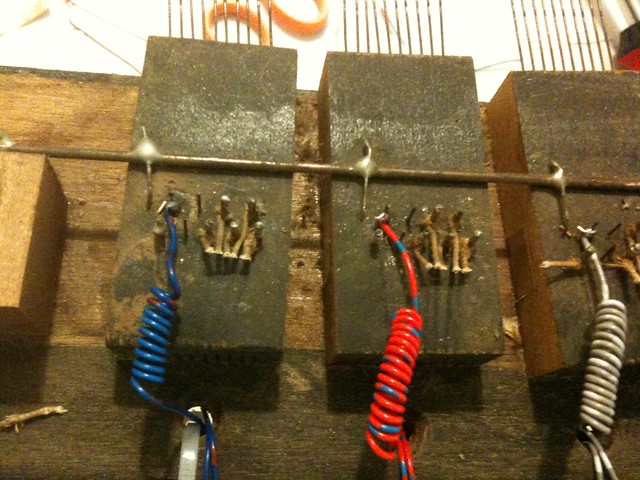
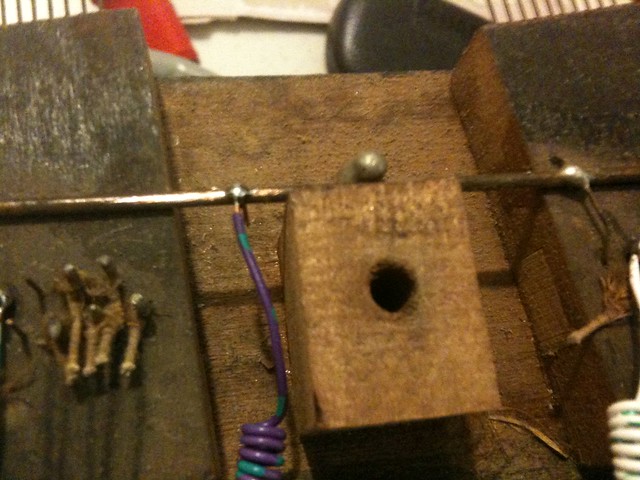
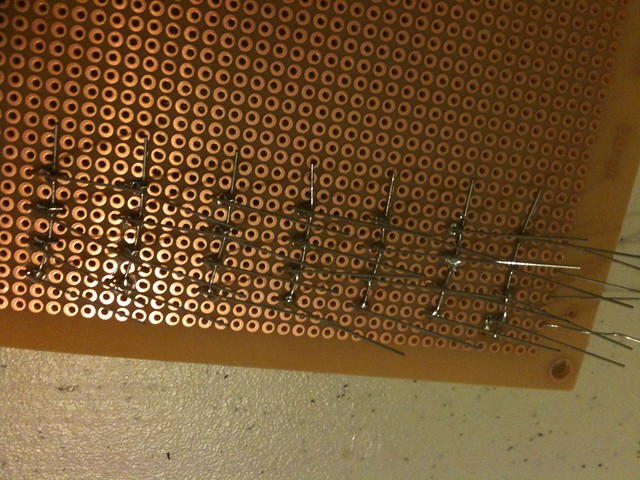
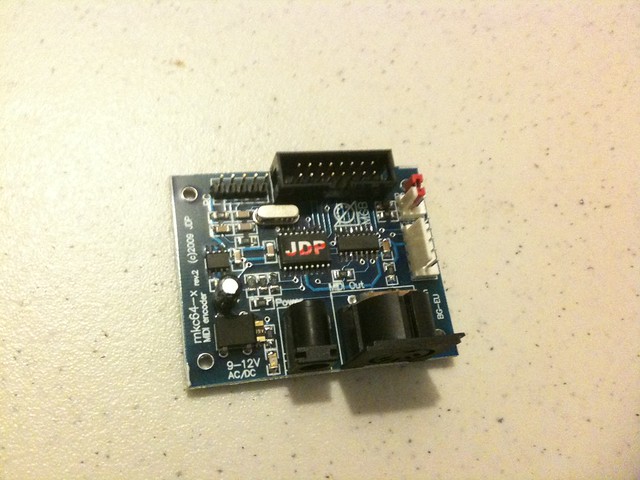
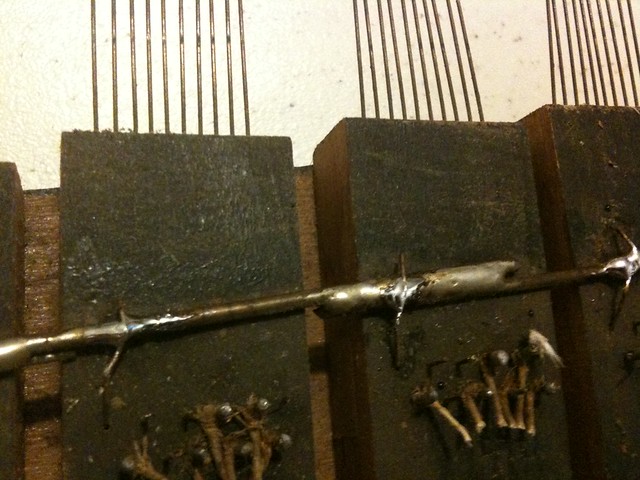
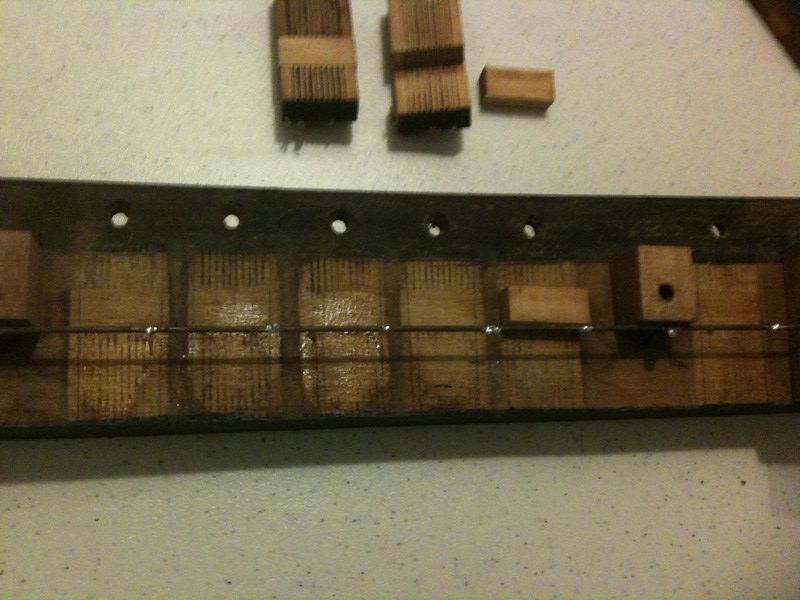
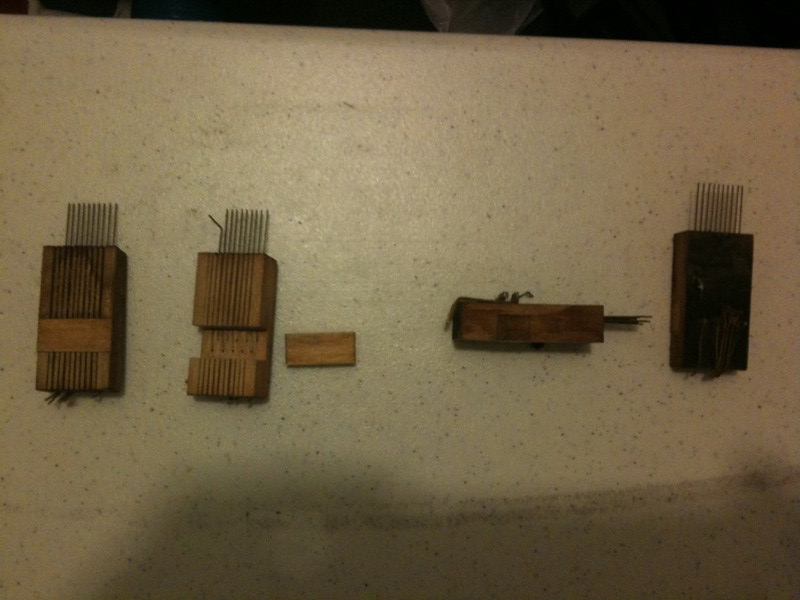
Now that the pedalboard MIDI encoder is on its way, I am thinking more about how exactly to wire the contacts. In the original installation, this pedalboard's contacts were all connected to a bus wire. A cable ran down the length of the contact rail, with seven connections for each note, presumably for all the to-pedal couplers.

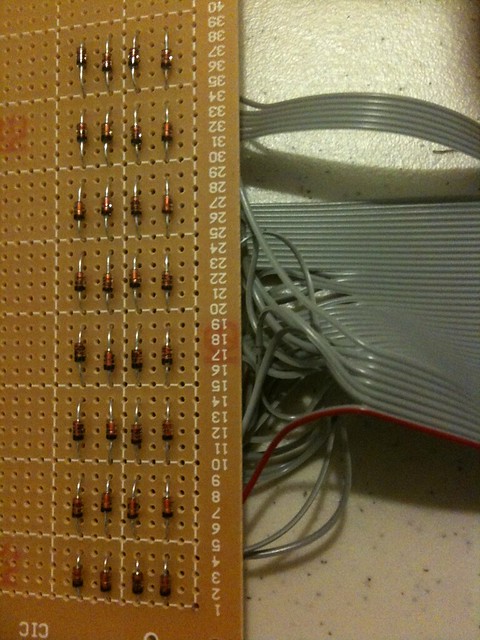
Being that the MIDI encoder uses a scanmatrix, a single bus wire won't work. I was thinking of repurposing the bus wire by cutting it into eight-note sections (1-8, 9-16, 17-24, 25-32), which would work with the scanmatrix. On the other side of each of the switches is a diode, and the diodes are connected together 1-9-17-25, 2-10-18-26, etc. Napkin diagram here, schematic here. (Electronic convention is to start with zero, but perhaps this will be easier for non-electronic-folk to understand.) I've seen 
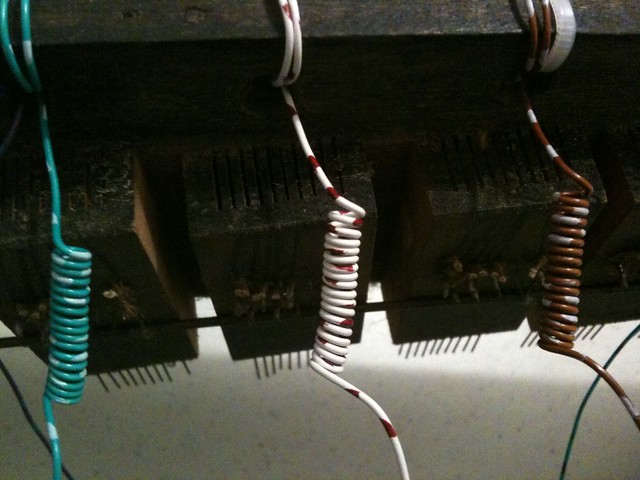
others wire the diodes together directly on the contact rail, but I'm afraid this will be difficult to maintain and unwieldy, and just plain esthetically bonkers. (I seem to have picked up an ethic of esthetics back when I worked with professional organbuilders.)

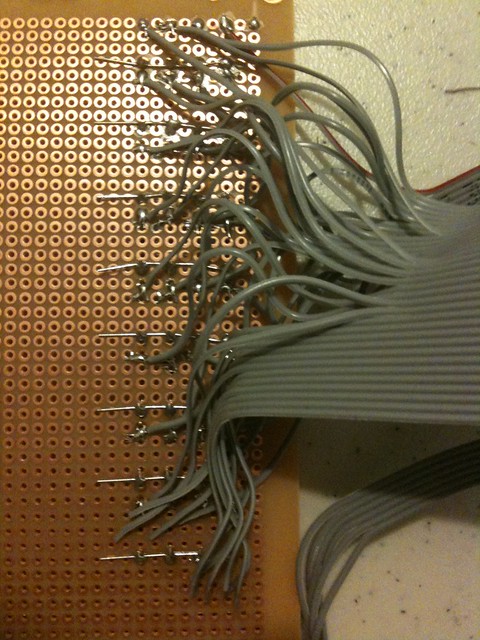
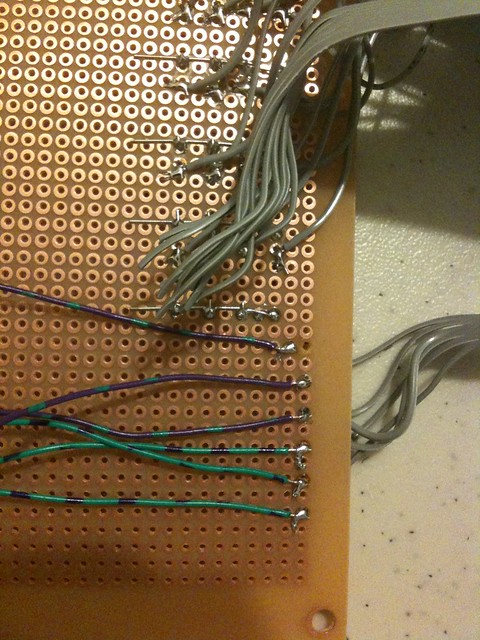
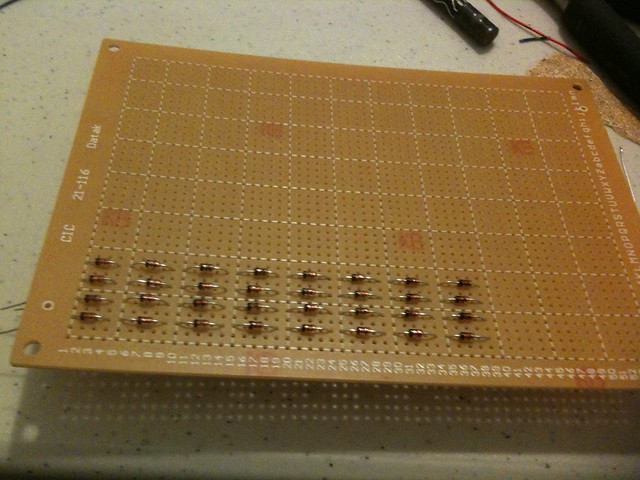
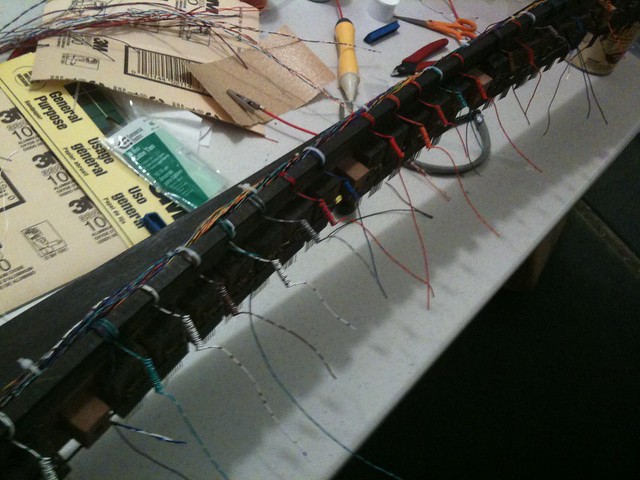
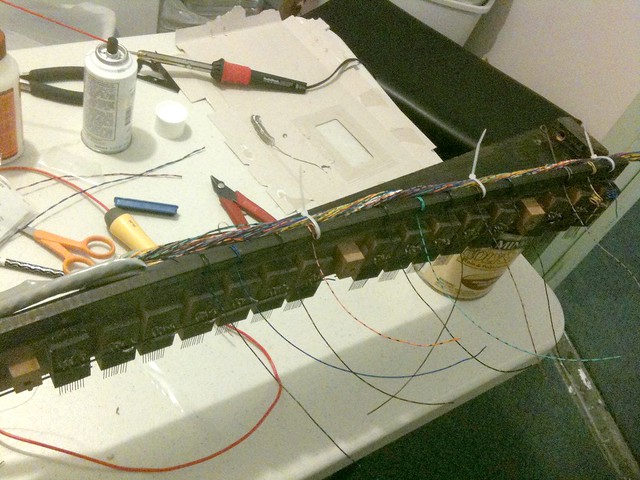
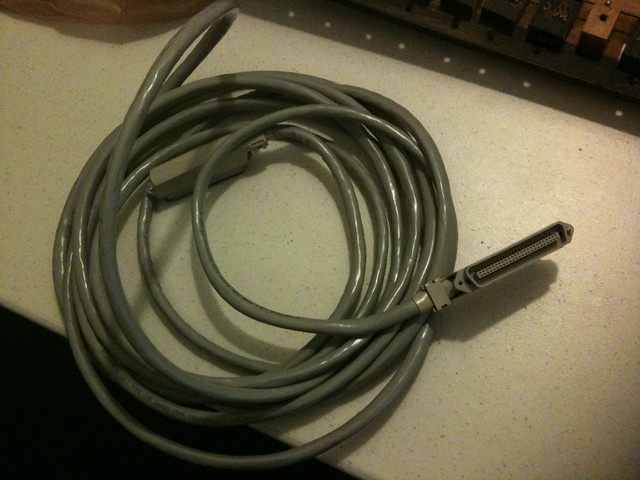
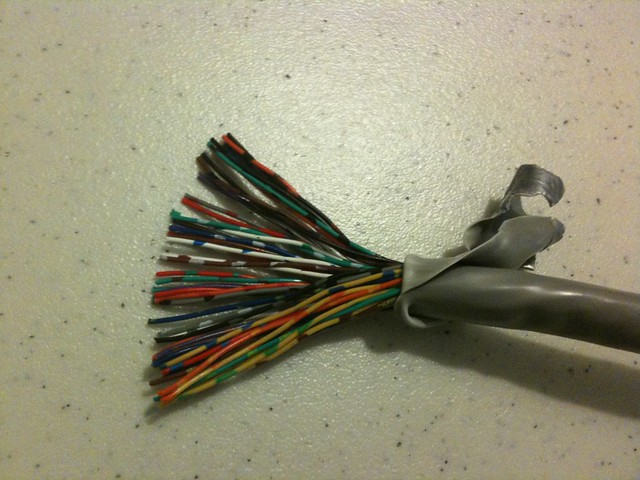
So, at this point, I am planning on running a 50-pair CAT3 cable along the contact rail, and using a pair for each note - that is, leaving the bus bar out of the equation altogether. The CAT3 will be routed out of the pedalboard, connected to an intermediate wiring board of hackery inside the "console," which will sort out the scanmatrix and in turn be connected to the MIDI encoder. (mwahahaha!!!)

I believe this will lend itself to maximum maintainability, flexibility, and beauty. The pedalboard will be a freestanding unit with a generic, detachable cable; the board will sit safely inside the console without having to ride around on the pedalboard, introducing either the risk of being kicked or the need to construct an auxiliary enclosure on the pedalboard. I don't anticipate having to swap out pedalboards, but if I did (hmm, maybe a flat 30-note for a Baroque virtual organ??) it would be easy to do while still using the same electronics installation.

Update: D'oh... the cable I ordered was 25-pair, which seems to be the standard available prepackaged cable with connectors. Ergh... back to the drawing board! Perhaps I'll cut the cut bus wire and hook it up to the cable, and use the external wiring board for the diode side only. That makes sense... and it will only use 40 of the 50 wires. Phew!

October 6, 2010

Pedalboard contact repair begins

Yesterday I got notification that my pedal MIDI encoder shipped airmail from Europe. Last night I started the repair work on the damaged contacts. Turns out the wires are copper. I was able to desolder and remove them without a problem (and of course desoldered some of their neighbors by accident as well!). The holes in the rail are for anchoring the individual wires leaving the cable which passes along the edge of the rail.


Looks they were held down by (presumably) hide glue. I don't really want to mess with that, so I plan to reglue them with a thin layer of wood glue. Flame me in the comments if you think this is a really bad idea :)


A few of them appear to have swelling damage from the water, which is inhibiting the wires from passing cleanly through the little slits. This is a problem; I have not yet though about how to deal with it. Worst case I suppose I would replace those notes with reed switches. 


Next: regluing and soldering up the diodes

October 5, 2010

Transcribing a Sousa march

Last night I started the real work of my latest transcription: Sousa's George Washington Bicentennial March. This is my second Sousa, after The Liberty Bell. I really like this march; I heard it on a tape in childhood, and the themes popped up in my head from time to time. Recently I rediscovered it. It seems to be a relatively obscure one; I'm excited to work on it.

I started a thread about transcription on PIPORG-L. This piece has some tricky texture with multiple prominent lines, which apparently is a typical issue in the theater-organ/transcription world. Thumbing down is one possible technique; I see Cameron Carpenter doing a fair bit of this in Stars and Stripes Forever. Second touch is also a possibility. The technology is an issue, though: real second touch hardware is extremely expensive. It can be emulated with aftertouch, but even this is only available on higher-end keyboards. I believe it's also possible to use velocity values for this, but without having tried it, it sounds like it would be intolerably sloppy.